
How to change or add a new HTML email signature in Outlook Live
Last Updated On: 2026-01-12
Here’s a step-by-step guide on how to change or add a new HTML signature in the Outlook Live webmail and paste the signature HTML from the clipboard:
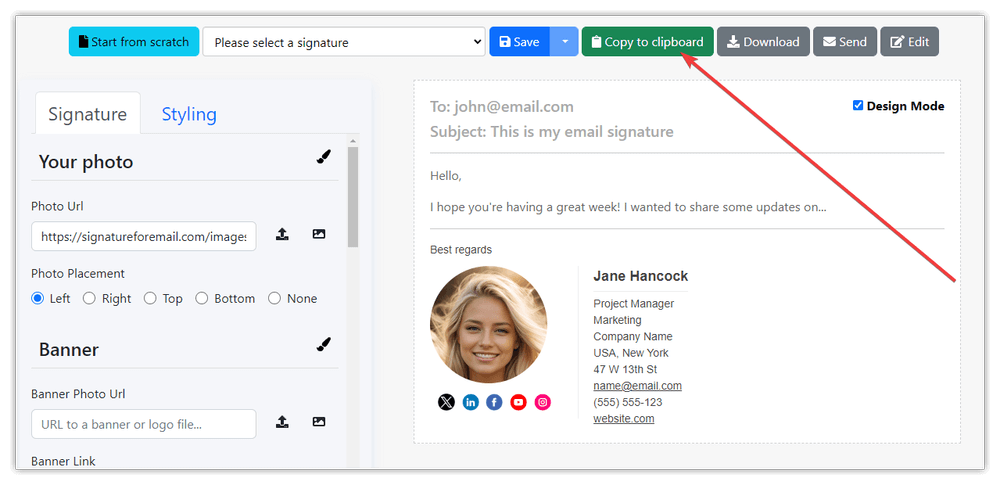
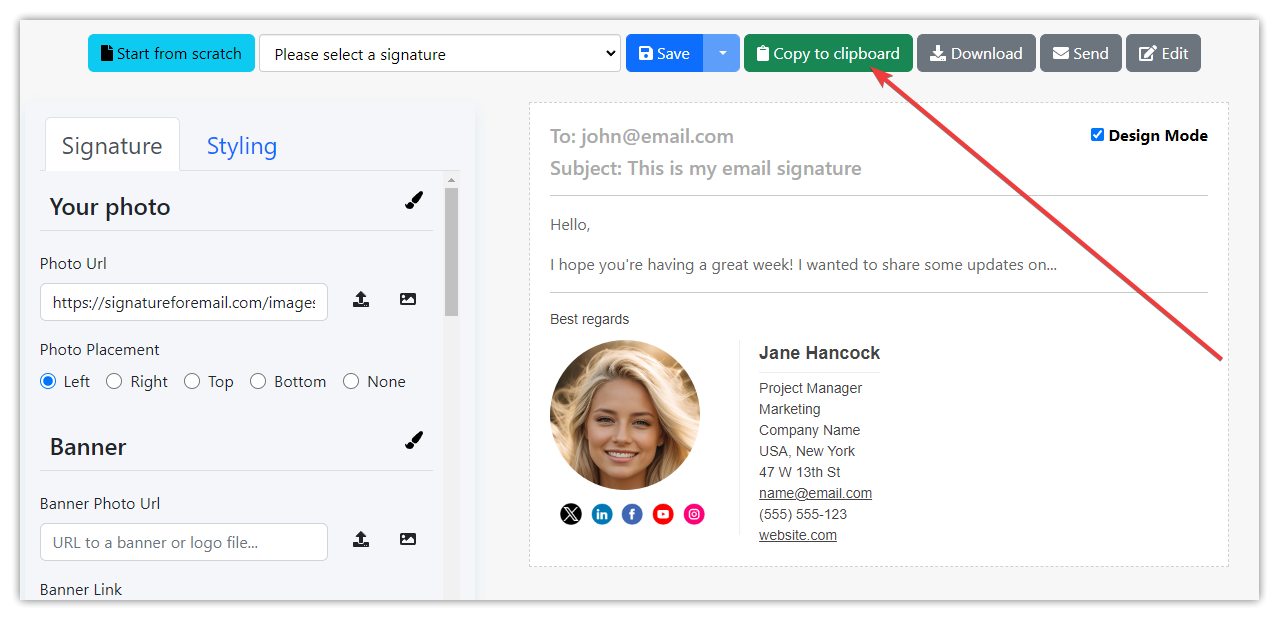
- Copy the email signature from SignatureForEmail.com to the clipboard.
- Open Outlook: Open your web browser and navigate to Outlook.live.com. Sign in with your Microsoft account if you’re not already signed in.
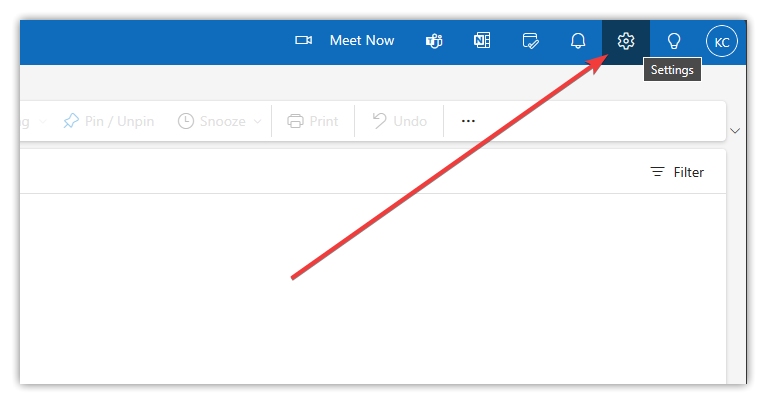
- Access Settings: Once you’re logged in, locate the gear icon in the upper-right corner of the Outlook interface. Click on it to open the settings menu.

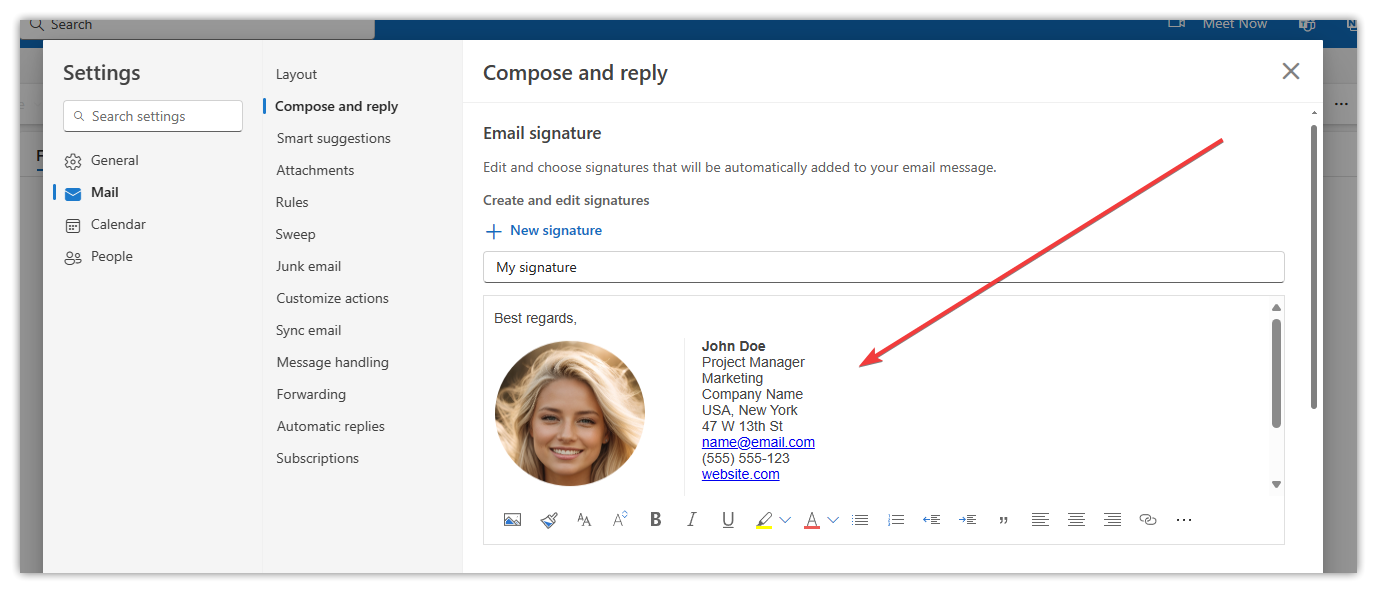
- Navigate to Mail > Compose and reply: In the Settings menu, click on “Mail” from the left-hand navigation pane, then click on “Compose and reply” to access signature settings.
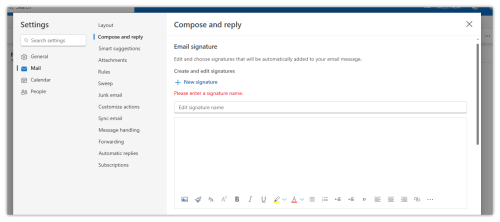
- Create a New Signature: Please enter your signature name.
- Paste HTML Signature from Clipboard: If you have your HTML signature copied to the clipboard, simply paste it into the text box. You can do this by pressing Ctrl + V (Windows) or Command + V (Mac) on your keyboard.

- Save Changes: After pasting your HTML signature and adjusting it as needed, scroll down and click on the “Save” button to save your new signature.
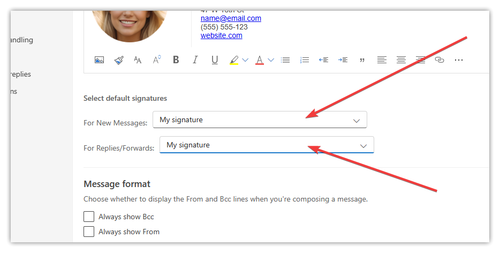
- Select default signatures: After saving please select your signature as a default one for the New Messages and for the Replies/Forwards:
- Test Your Signature: Compose a new email to test your HTML signature. It should automatically appear at the bottom of your email.

- Adjust as Needed: If your signature doesn’t display correctly or you want to change it, go back to the signature settings and make changes either by editing the saved signature or by pasting it again from the email generator website.


That’s it! You’ve successfully added a new HTML signature in the Outlook web app by pasting the signature HTML from the clipboard.