How to Bulk-Create HTML Email Signatures for Your Company?
Last Updated On: 2025-02-27
Step-by-step guide to mass-create email signatures with photos for your company
- Open the Email Signature Generator.
- Sign in to your account.
- Create a new signature template for your company or select a template signature and modify it to match your brand. We recommend fully testing your signature in your company email clients before importing CSV data. If you need more information about creating a signature, click here.
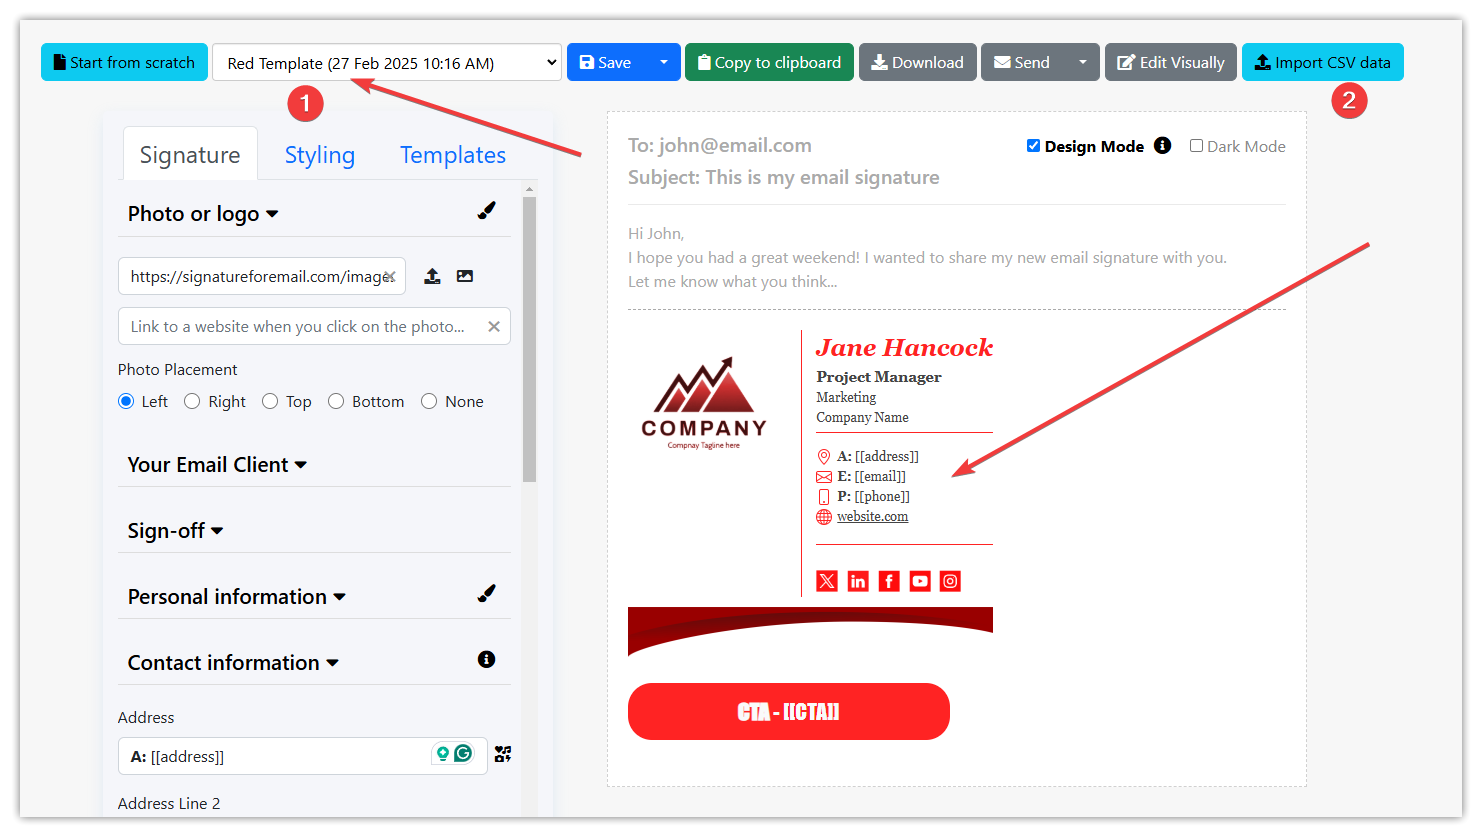
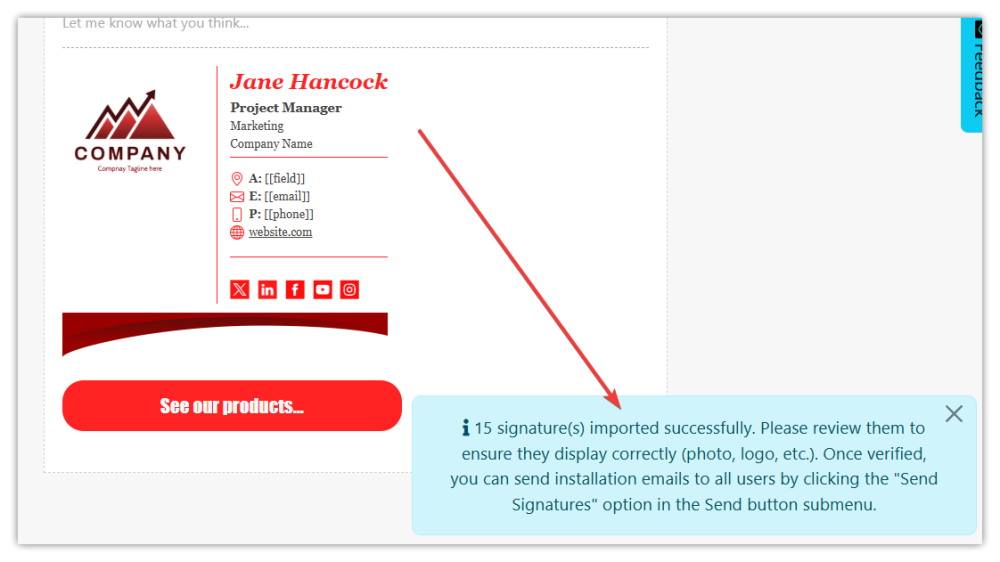
In your signature template, you can optionally use placeholder fields like [[field]] to mark which part of a given field should be replaced with data from a CSV file. If you do not enter [[field]] placeholder then the whole field text will be replaced. In the screenshot below you can see that the address has a bold A: prefix before the address value. The same is true for email and phone. The field name in the [[field]] placeholder is not important, but it's good to name these fields to know what the given signature field will display.
- Click the "Import CSV data" button (2) to import a semicolon-separated CSV or TXT (UTF-8 without BOM) file that contains your company team members. Here you can download a sample CSV file that has data for 3 example signatures.
This is a list of possible fields in the file data: FullName; Email; PhotoUrl; SignatureUrl; JobTitle; Department; Company; Address; Address2; Address3; Phone; Phone2; Website; CustomField1; CustomField2; CustomField3; ProfileUrl1; ProfileUrl2; ProfileUrl3; ProfileUrl4; ProfileUrl5; SignOff; Disclaimer; EmailClient; CustomCTA; CustomCTAUrl
FullName and Email fields are required. Other fields are optional. The order of the columns is not important.
PhotoUrl can be only a file name that you can upload to our website (for example jane.jpg, bob.png, photo1.jpg, etc) or specify an absolute URL (with https://...) to the photo from any other web server. We recommend small photos (max 300px by 300px dimensions) for fast downloading (especially on mobile devices).
ProfileUrl1 to 5 and CustomCTAUrl require an absolute URL to a given webpage.
The EmailClient field can be used to specify if the given signature should be for a different email client than the one specified in the main signature template. Email client values are Gmail - 1, Apple Mail - 2, iOS Mail - 3, Outlook New - 4, Outlook Classic - 5, Outlook Live - 6, Yahoo - 7, Thunderbird - 8 etc. The main issue is Outlook, which needs some changes in the HTML of the signature, but if all of the email clients in your company are consistent, there is no need to specify it in the CSV data.
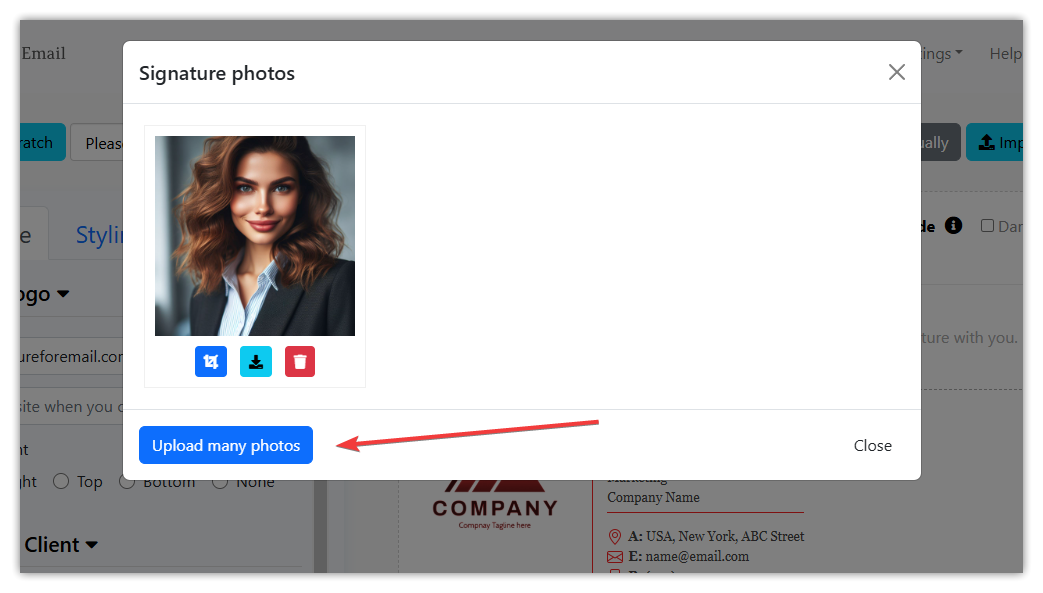
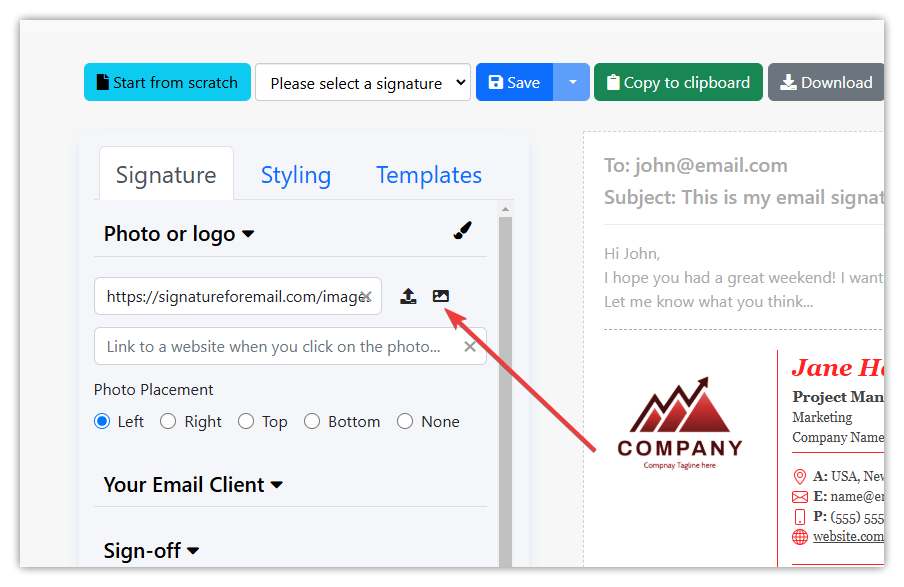
- If you upload photos to our website, they will be resized to 300px width by 300px height maximum, but if you have big photos, then we recommend resizing/cropping them before uploading to make the upload process fast. Also, it is possible to crop photos after uploading them as well on our website. The only issue is that if you upload JPG photos and crop them on our website, they will be saved as a PNG format, so you need to have PNG photo file names, like jane.png in the CSV import file. To upload many photos please click this icon and if you are a Pro or Business user you will see the blue "Upload many photos" button:
As you can see in the screenshot above, you can crop, download, or delete each photo.
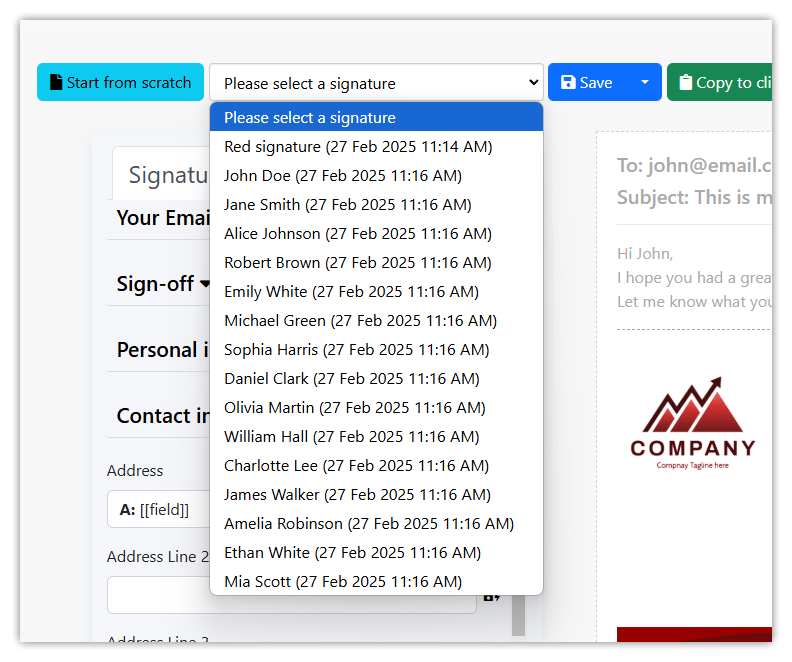
- If your import data is correct, our site will create all the signatures and you will be able to see them in the drop-down list.
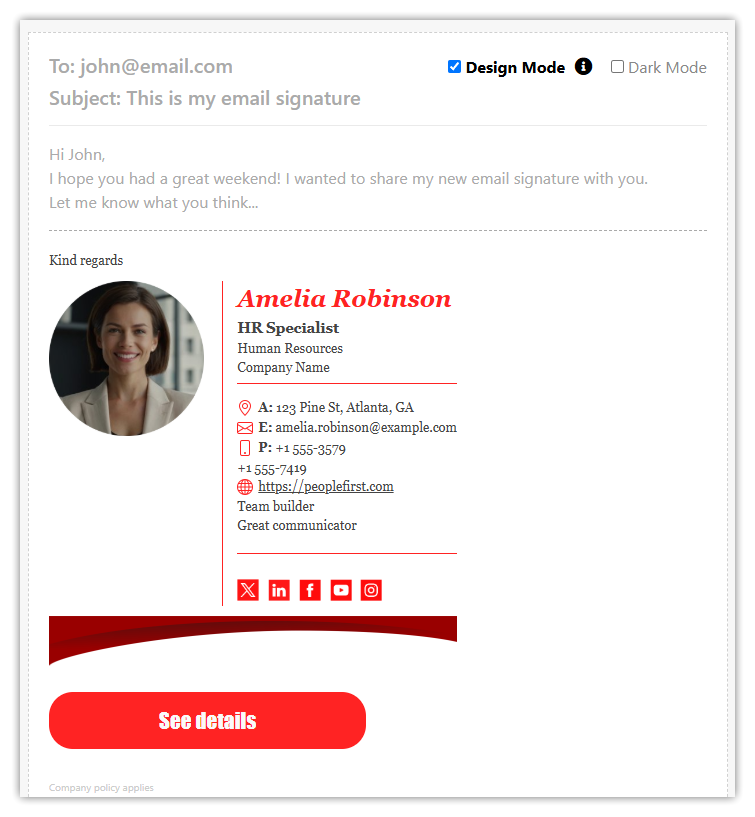
- Please load some of the imported signatures and verify if they look OK. You can try to install this signature in your email client, send it to your email for a test, etc.
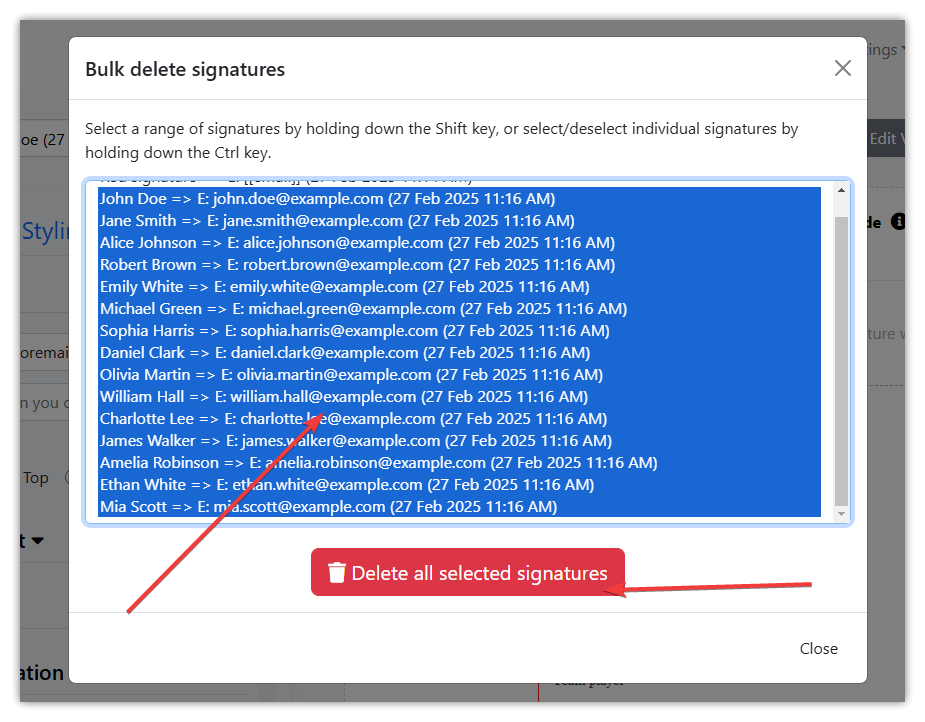
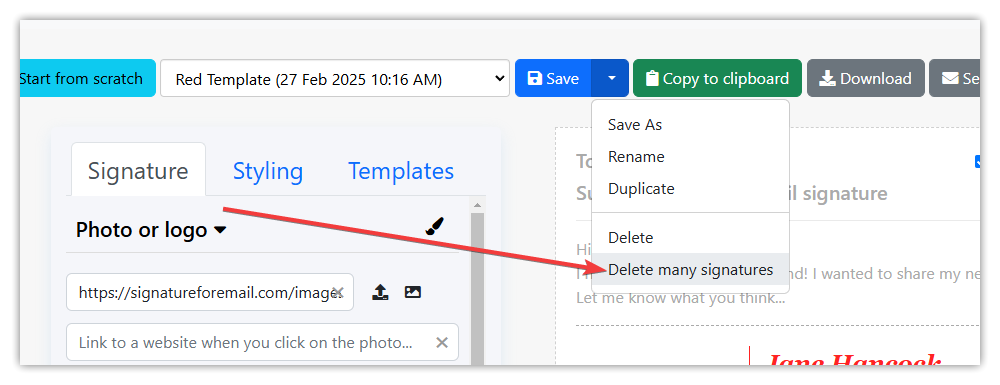
- If the created signatures are wrong, you can delete all of them at once by clicking this button, and then update your main signature template accordingly, and import CSV data again:
- If you are happy with the signatures, you can optionally send these signatures to every email specified in the signatures by clicking the Send signatures button. Then every person or someone from IT has to install the received signature in their email client.

Please read the information about sending these emails, because there is a daily limit.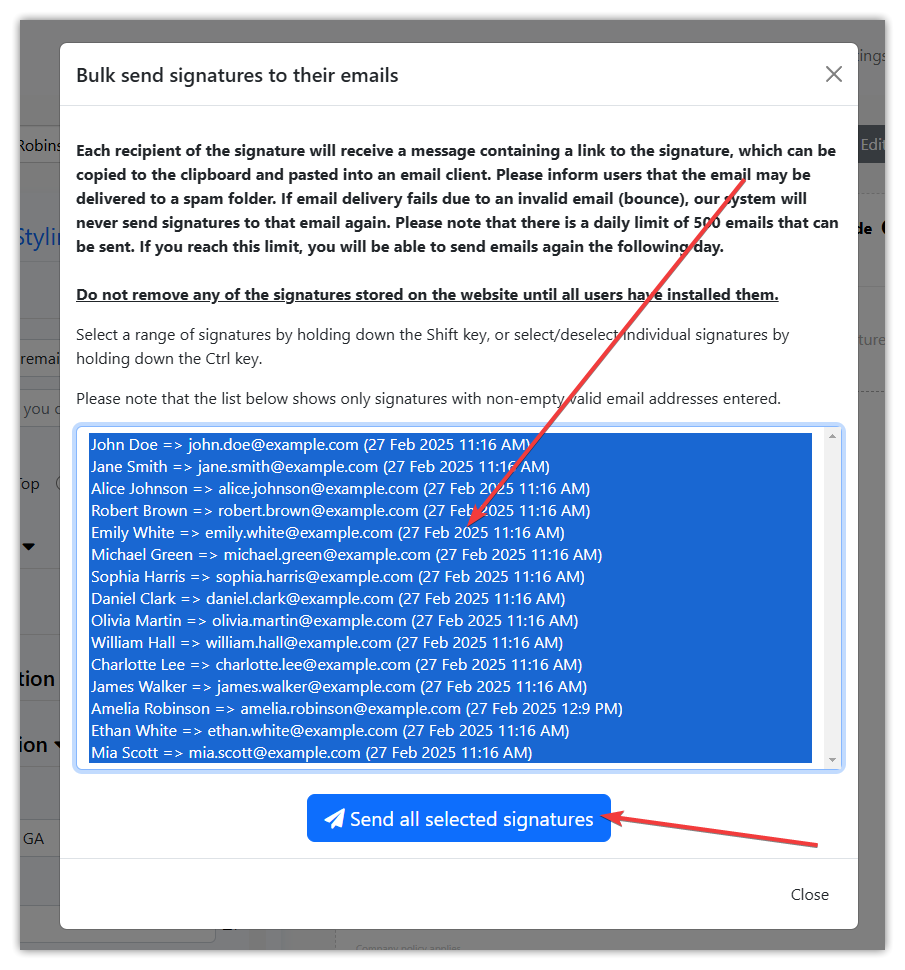
- That’s it! You’ve successfully created your HTML signatures for your company!