How to create HTML email signatures
Last Updated On: 2025-02-10
Create an HTML email signature with our signature generator tool in a few simple steps
- Open the Email Signature Generator.
- If you are signed in upload your photo or company logo otherwise enter a URL address to it.

- Select an option to see your photo on the left, right, top, or bottom (Photo Placement options just below the Photo URL field).
- Optionally select your email client (recommended), especially if you use an Outlook email client.

- Fill in all the signature contact details you need.

- Please note that you can customize each field as you like with our inline editor:

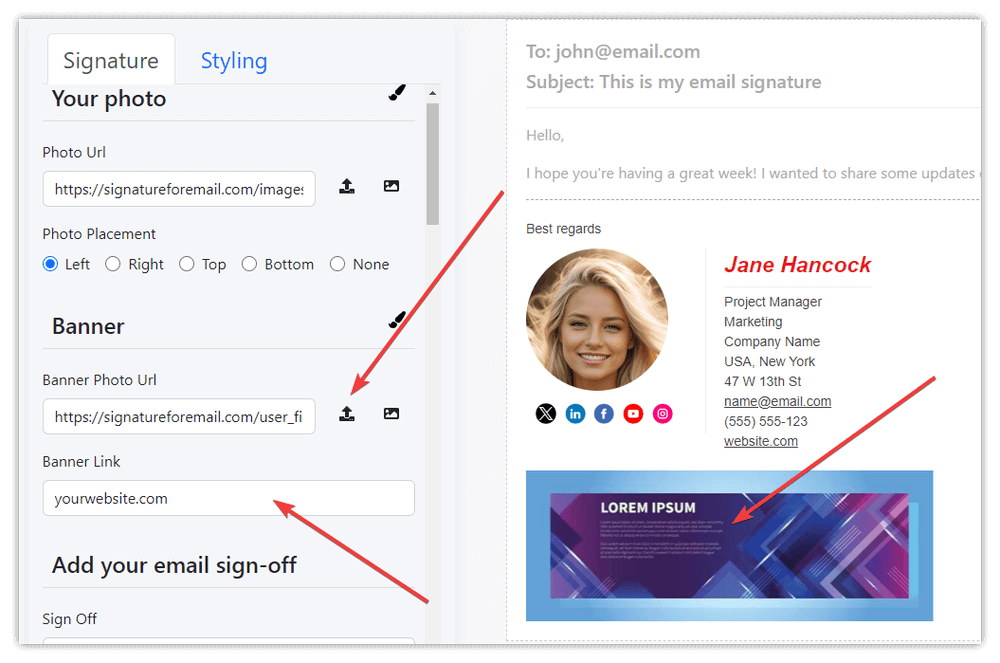
- Optionally add a banner image with an optional link (clicking on the banner will open the website URL you enter).
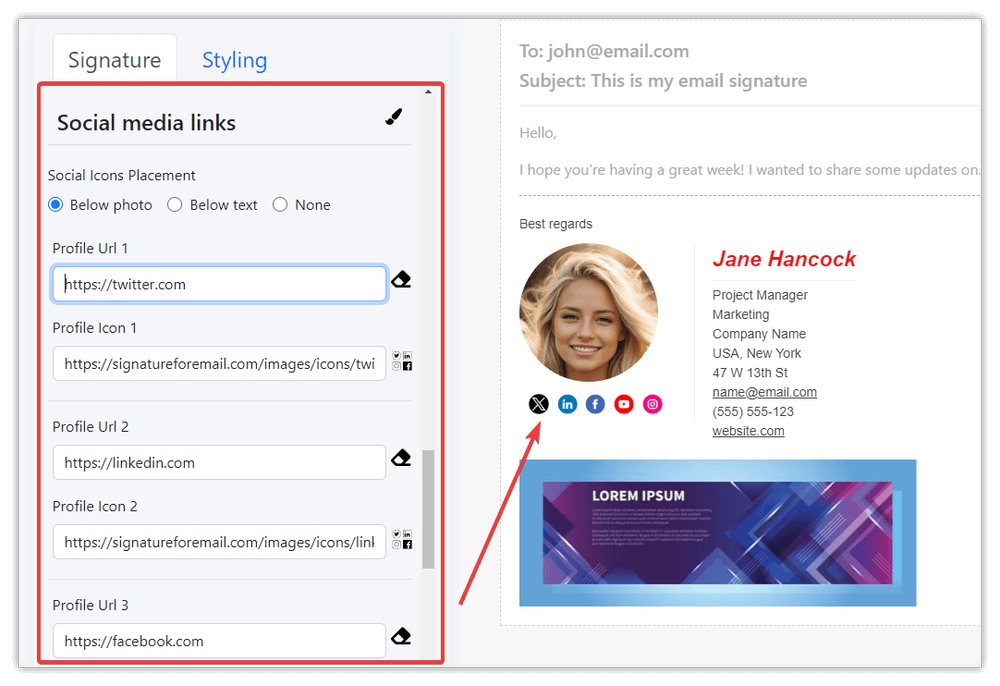
- Update your signature social profile links. It can be any icon URL and link you like. If you don’t need it just select the None option from the Social Icons Placement.
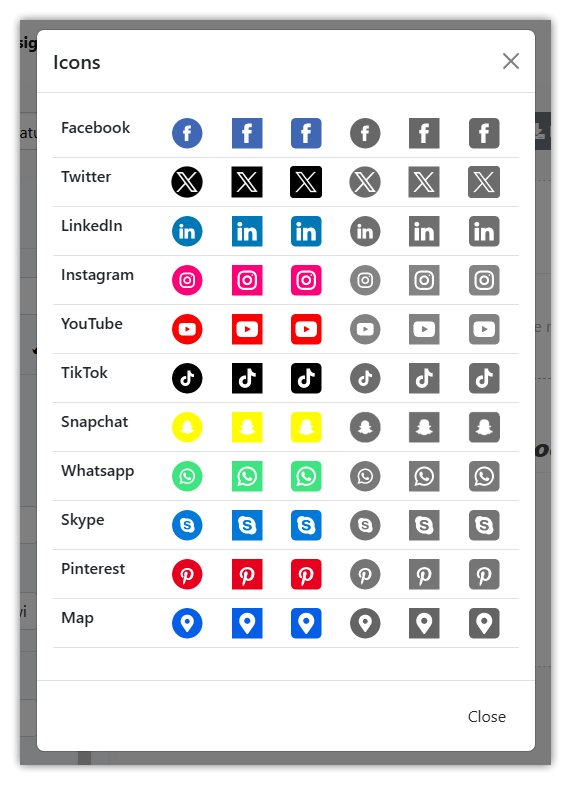
Social icons to select from:
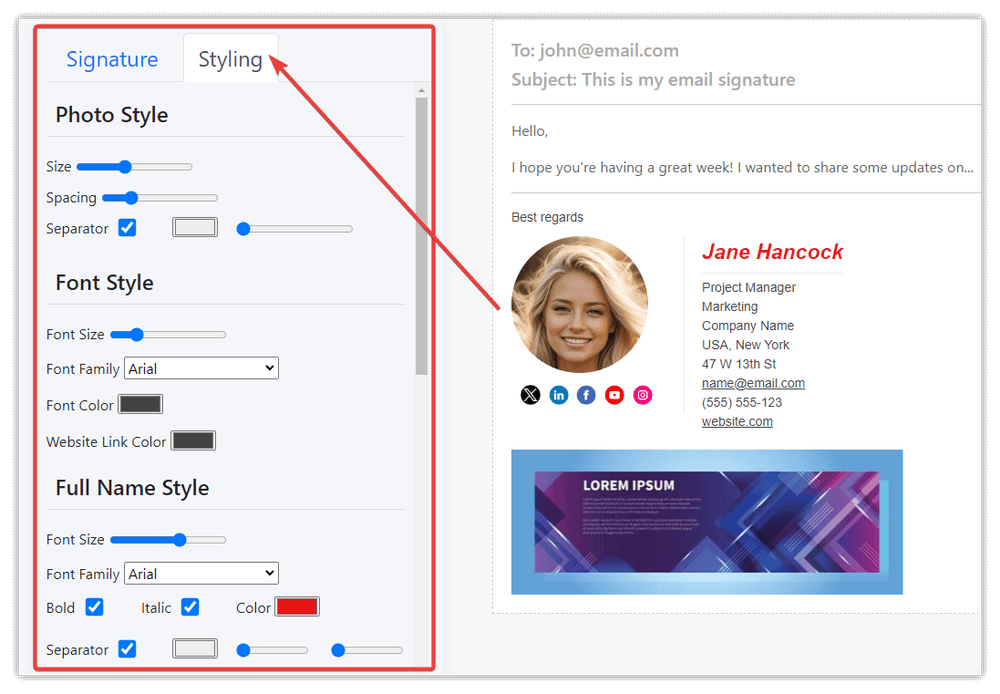
- Style your signature as you like:
- If you are signed in, save your signature online.
- Copy the signature HTML code to the clipboard ready for pasting into your email client (Gmail, Apple Mail, Outlook Desktop, Outlook Live, Thunderbird, Yahoo). We recommend using Chrome or Edge browser. Firefox browser version 127+ does support copying HTML format into the clipboard otherwise it will copy signature HTML in text format only.

- Test your signature by creating a new email and sending it.

- Please note that you can customize your signature even more in the Visual Editor. Just click the Edit Visually button (you need to be logged in).

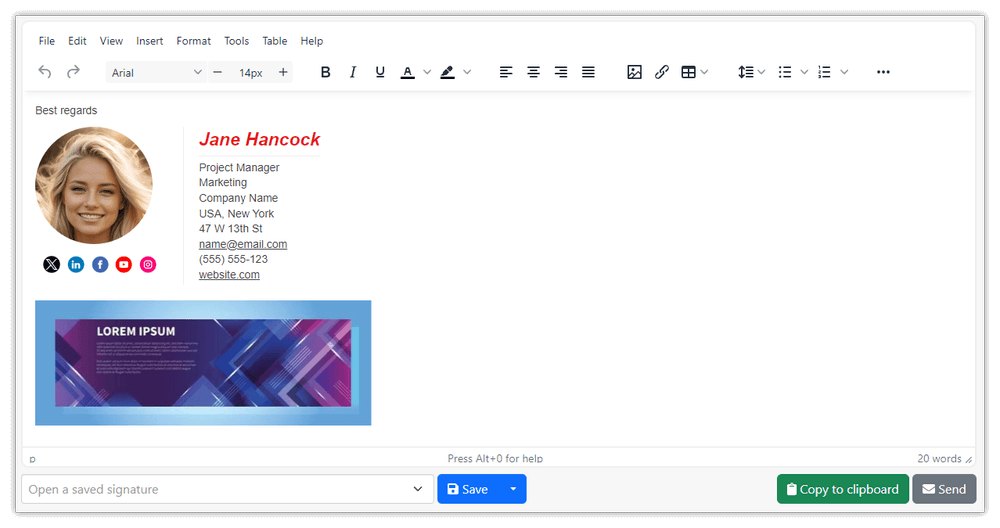
- That’s it! You’ve successfully created your HTML signature. Also, feel free to send us any feedback…
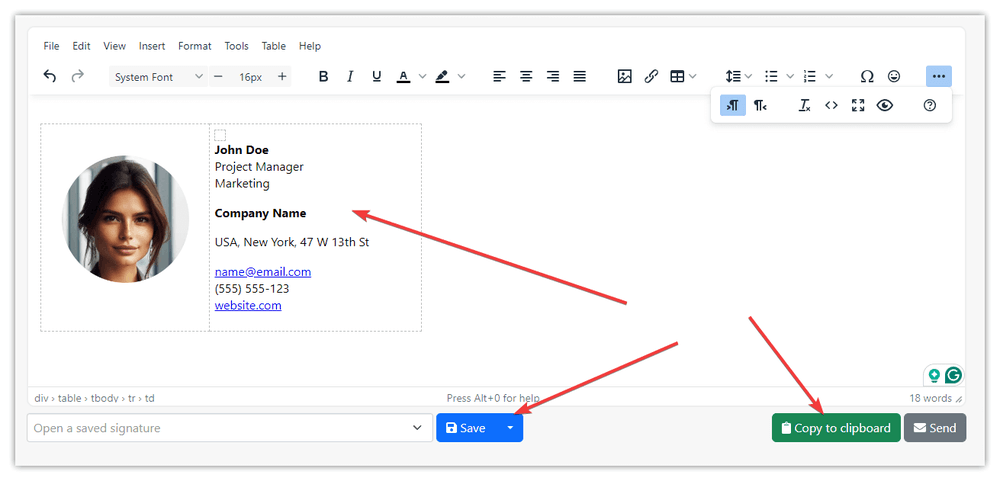
You can also design your email signature from scratch by entering all text manually in the Visual Editor.
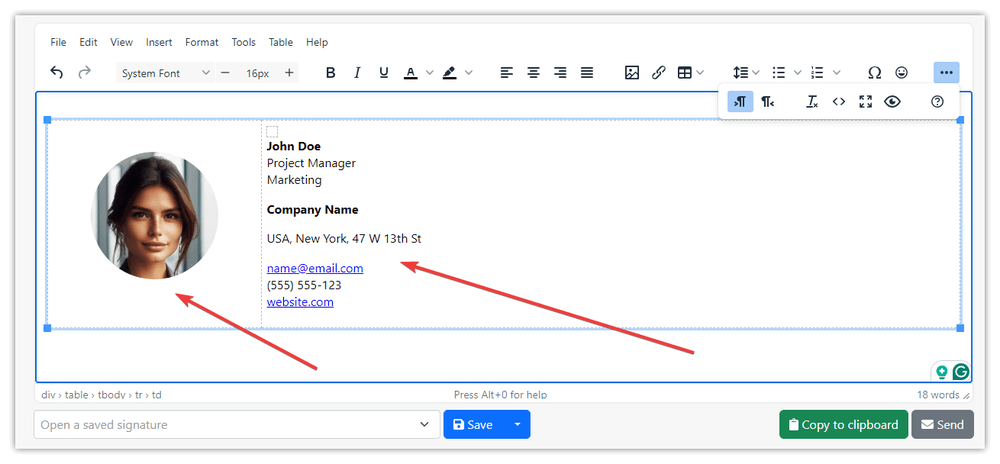
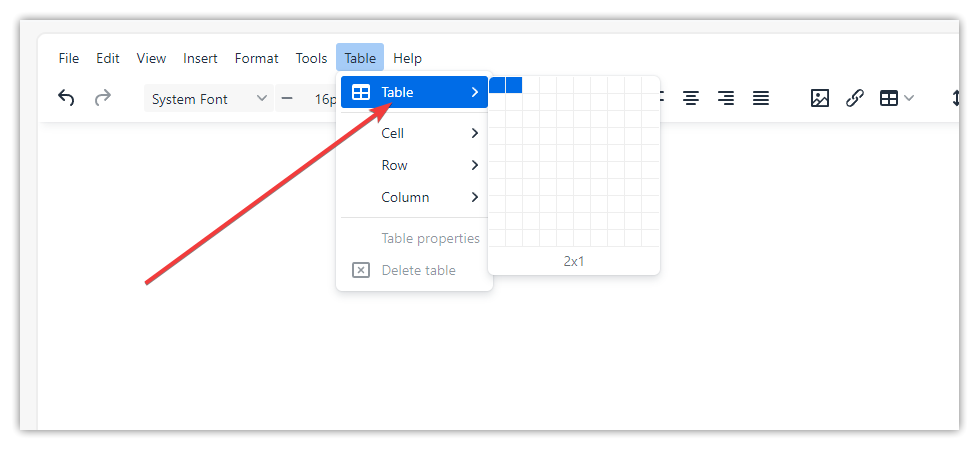
Start by creating a signature in a table. For example, if you want to create a signature with your photo on the left side and all other contact details on the right, you can start by creating a table with two columns and one row.
Example signature with a photo:
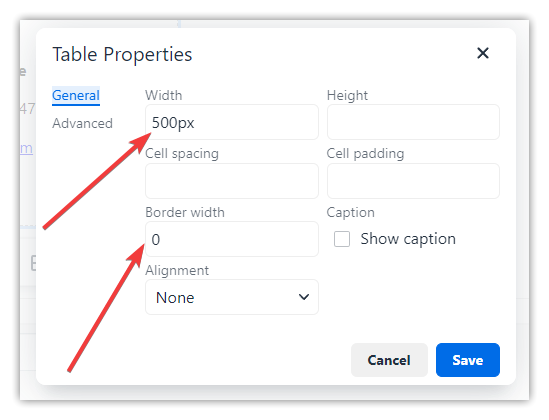
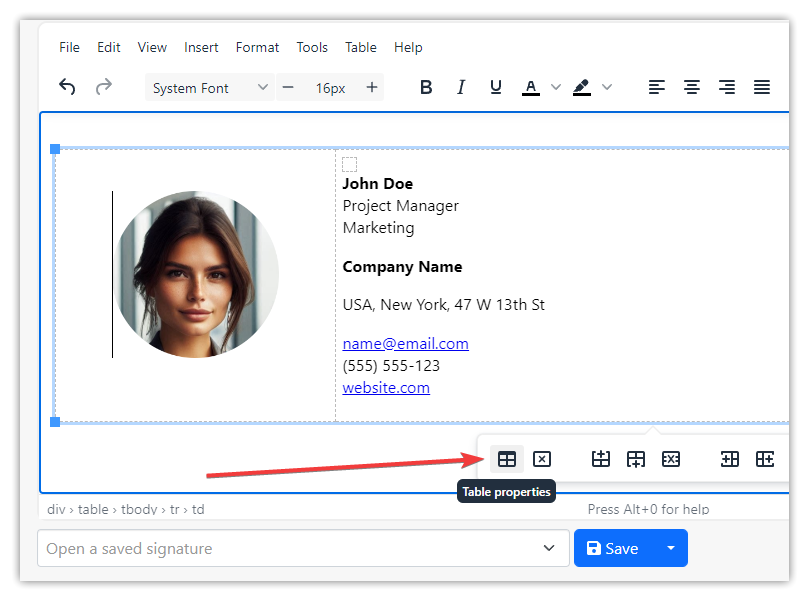
We recommend removing the table border and setting the table width to let's say 500px (pixels). Just click a cell in the signature table and click the Table Properties icon:
Enter let's say 500px in the width field and 0 in the border width field and click the Save button:
Now you can save your signature online on our website, then copy it to the clipboard and paste it into your email client:
